

Hi lovely crafty friends, today I have glitter, lots of glitter and some fun techniques that are easy but give a fabulous effect. Of course I have a bunch of card examples for you to try out or use as inspiration, so let's dive right into it.
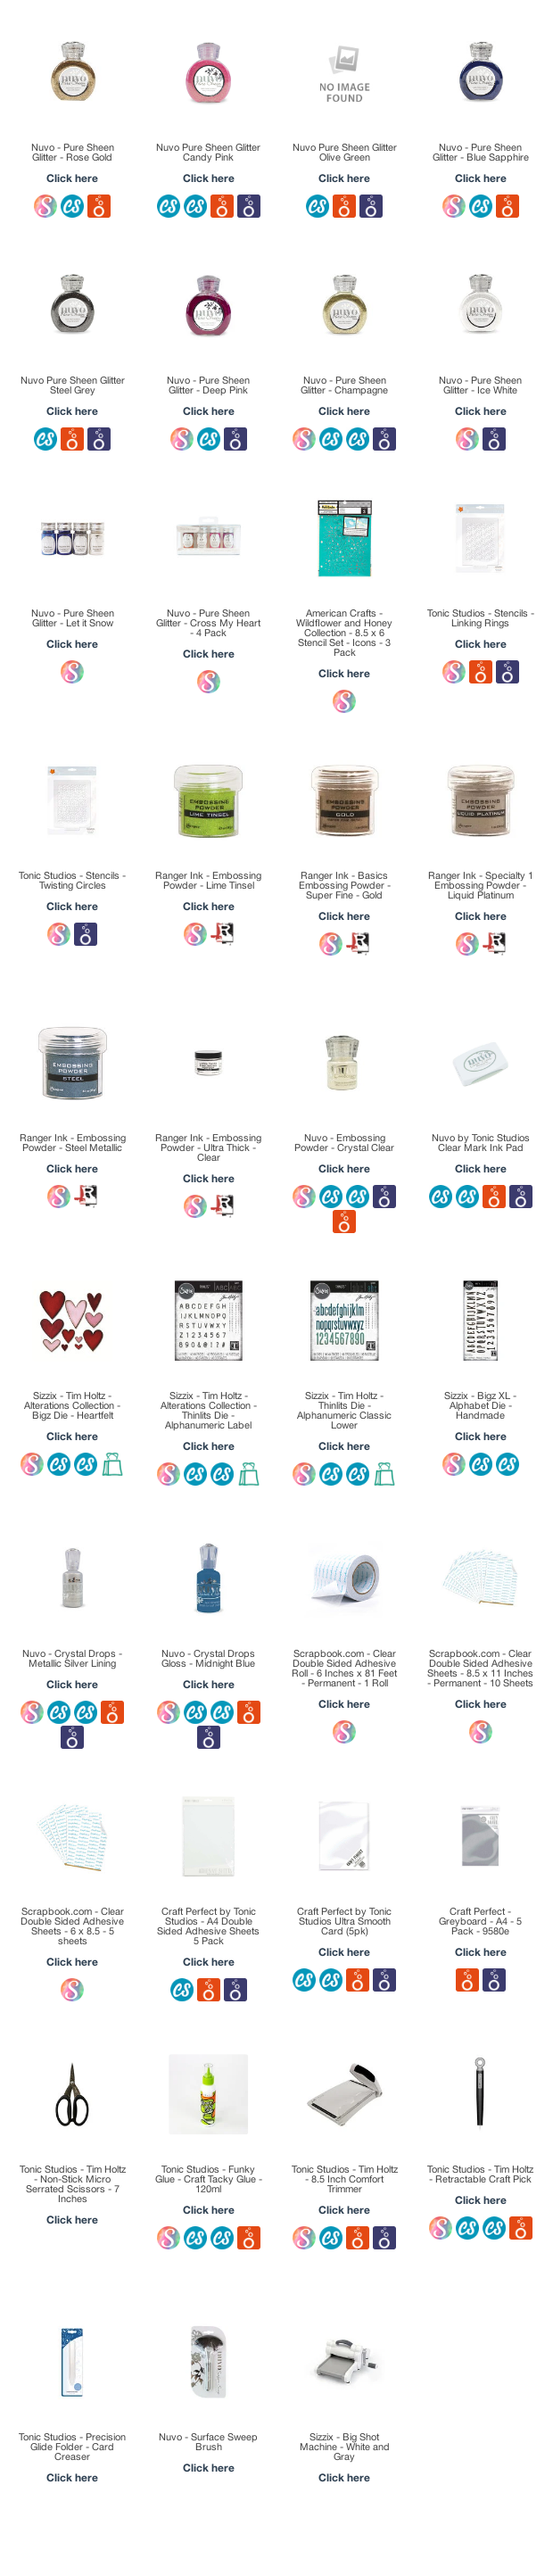
(All supplies are linked to different stores at the end of this post in the thumbnails. The different stores are also linked behind the product name. Among them are affiliate links that may be used at no cost to you.)
I have some super easy glitter techniques with a WOW factor that you'll love and tips to reduce the mess along the way. So be sure to watch today's video to see all techniques in action so you can give it a go yourself.
I have some super easy glitter techniques with a WOW factor that you'll love and tips to reduce the mess along the way. So be sure to watch today's video to see all techniques in action so you can give it a go yourself.
Shocking Glitter News
Today I want to share some fun techniques with glitter I have been doing at a few craft shows and that are so super cool that I had to share it. But after I taped the video I found out some shocking news, the Pure Sheen Glitter that I used in the video I going out of the collection at Tonic Studios UK however is that possible, I am so shocked right now:-)
But the good news is that they have some huge discounts going on this month. So if you want to get your hands on some of your favorite colours, you better go check it out here while the pretty colours are still there.

All the glitter but less mess tips, what do you need?
Glitter obviously, I used Nuvo glitter but you can use other glitters too. To make working with glitter a bit less messy there are a few things you can do.
The first tip is a big coffee filter, the paper is less static then regular printing paper, so you don't need to use this but it will help to reduce the mess. And most of the time everyone knows someone who knows someone who has filters like this, just ask around:-) You can use the filters many times so you only need a few.

Second the Nuvo - Surface Sweep Brush ( SBC | TNCUK | TNC ) this is a great tool to wipe up any glitter that falls on your desk as well as to work in the glitter on the cards.
Another thing you can do when you are done "glittering" is to use a static cloth to wipe up the leftover bits. And finally you can use a sticky roller for your clothes and that will make all the difference.
Let's Check Out the Glitter Backgrounds

Here are the backgrounds together before I turned them into cards, from the simple ombre effect up to the three colour technique mix. And whatever technique you decide to use, you know the result will give you lots of shimmer and sparkle. I used double sided adhesive for all backgrounds because it's easy to use and more mess free than glue.
The CraftEmotions EasyConnect Sheets are a bit hard to come by in the USA as they are a Dutch wholesale company, you can ask your retailer for they do ship worldwide. Another option is to check out the Scrapbook.com adhesive section for good quality double sided adhesive or the Craft Perfect A4 Double Sided Adhesive Sheets 5 Pack ( CST | TNCUK | TNC ) by Tonic Studios, they are also known for their outstanding quality products.
Ombre Glitter Technique
For the first card I created a fun and easy ombre glitter technique, with a real smooth blend from one colour to the next. I used Nuvo - Pure Sheen Glitter - Deep Pink ( SBC | CRF | TNC ) and Candy Pink ( CRF | CST | TNCUK | TNC )

I added a printed sentiment along with the word sparkle cut out of chipboard with the Tim Holtz Alphabet Die - Handmade ( SBC | CST | CRF ). I added a layer of Ranger Ink - Embossing Powder - Lime Tinsel ( SBC | RNG )

And I finished with some glitter hearts cut with the Tim Holtz Bigz Die - Heartfelt ( SBC | CST | CRF | SZZ ) which cuts great through thicker layers. This is an older die that is still available and I always like to use my dies multiple times.
Glitter and Stencils

When working with stencils it’s important to
have open shapes with fine lines and a big openings. Because of the double sided adhesive used to make the glitter stick on, you not only want to add
the stencil but you also want to be able to peel it off
later:-)
The American Crafts - Wildflower and Honey Collection - Icons - 3 Pack ( SBC ) stencil I used here is about the closest I would go. It also helps that the stencil has been used before and isn't perfectly clean anymore, rubbing it a bit between your hands can help also.

I used Nuvo - Pure Sheen Glitter - Rose Gold ( SBC | CRF | TNCUK ) combined with Blue Sapphire ( SBC | CRF | TNCUK ) to create the glitter background. I finished the card with the big word cut out of Craft Perfect - Greyboard - A4 ( TNCUK | TNC ) and printed sentiment.
The letters are embossed with Ranger Ink - Basics Embossing Powder - Super Fine - Gold ( SBC | RNG ). I finished with some big pre-made Nuvo - Crystal Drops Gloss - Midnight Blue ( SBC | CST | CRF | TNCUK | TNC )

Another card with the glitter technique with a stencil. Here I used the Tonic Studios - Stencil - Linking Rings ( SBC | TNCUK | TNC ) which has a real fine detail and open pattern.
Champagne ( SBC | CRF | CST | TNC ) for the glitter background. The other way around would work great for a more masculine style card.

For the Greyboard ( TNCUK | TNC ) letters cut with the Alphabet Handmade ( SBC | CST | CRF ) I used Ranger Ink Embossing Powder - Liquid Platinum ( SBC | RNG ) to add colour and bit of gloss texture. To finish the card I added some pre-made drops Nuvo - Crystal Drops - Metallic Silver Lining ( SBC | CST | CST | TNCUK | TNC )

Another tip for the stencil, make sure the card with the adhesive is smaller than the stencil
because it will stick to the sides too. Especially with wider lines along the side of the stencil you won’t be able to take it off without tearing the paper.
Here you can see the bigger edge around the stencil, I cut the card slightly smaller, to fit inside the edge.
Bringing it all together

For this card I used a CraftEmotions Stencil Mosaic, again one with a very fine lined pattern and lots of open space. And here I combined the stencil with glitter and the ombre glitter technique using three colours of glitter.
The combination of Nuvo - Pure Sheen Glitter - Deep Pink ( SBC | CRF | TNC ) with Ice White( SBC | TNC ) and Olive Green ( CST | TNCUK | TNC ) is absolutely stunning. And of course you can mix or change the colours to get another look as you can see below with the next card.
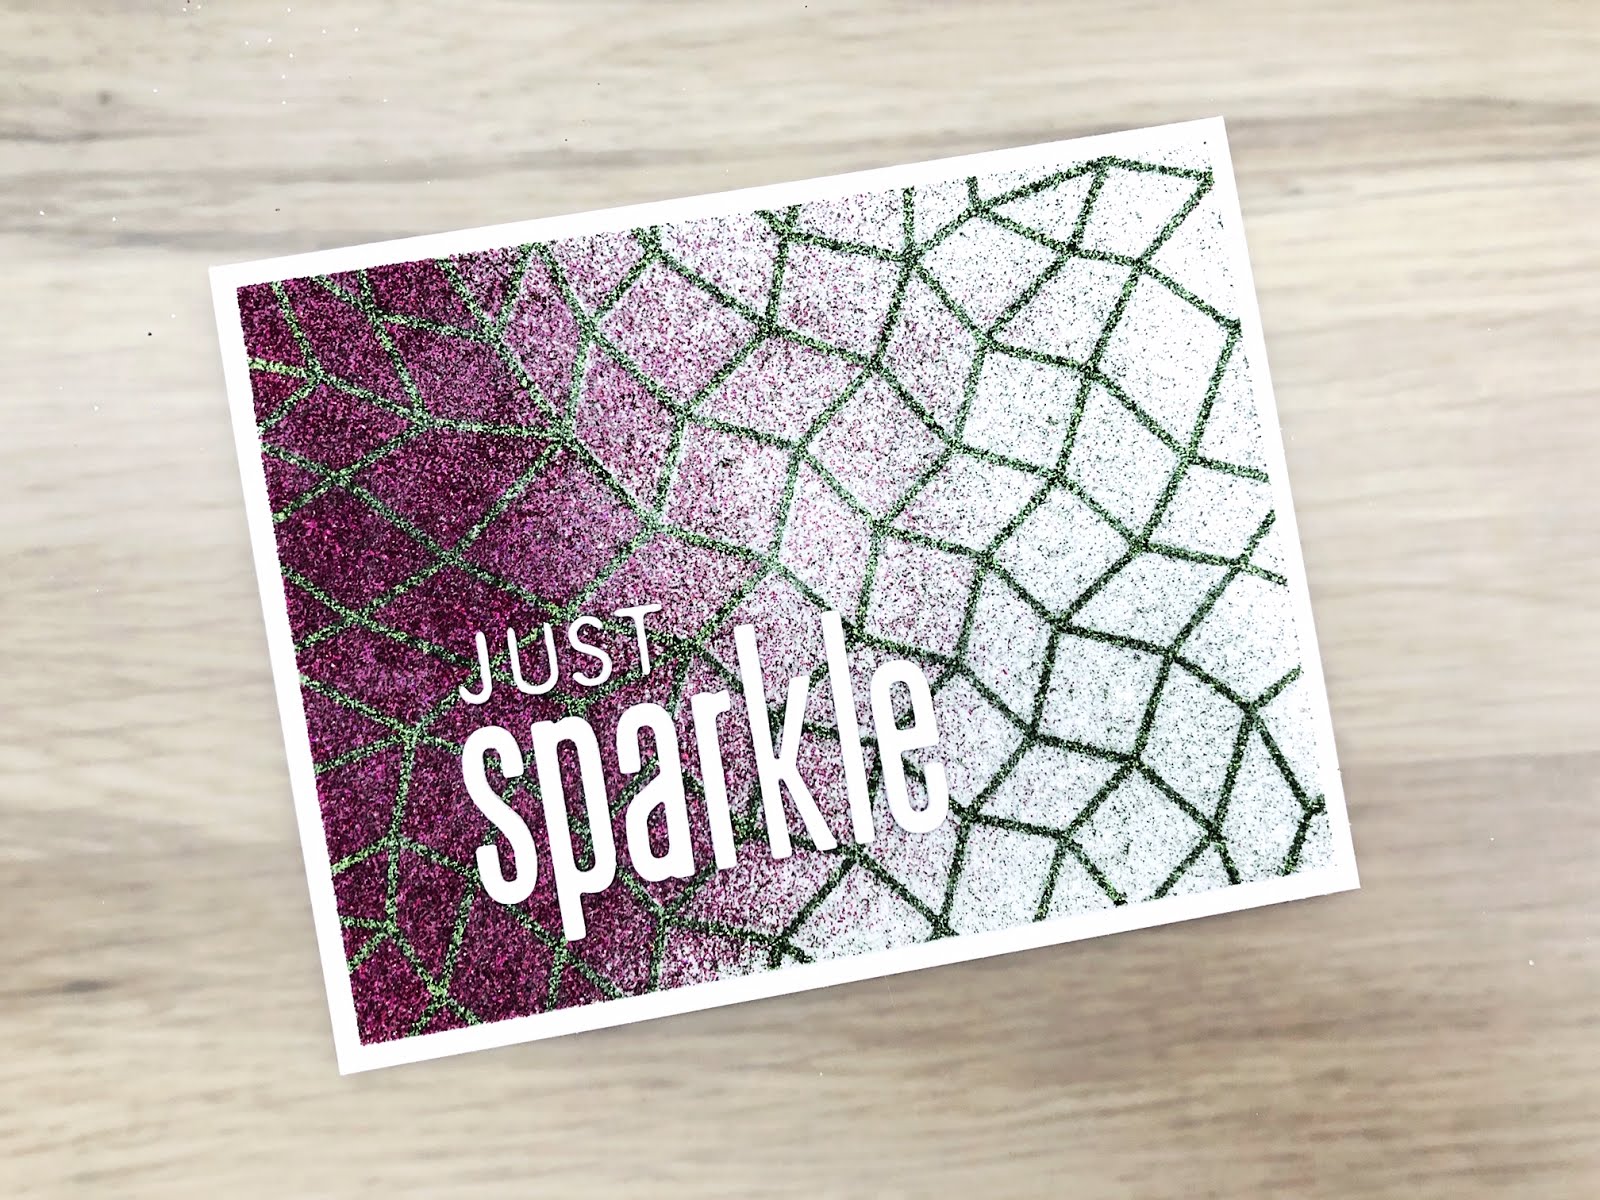
I finished this card with a simple white sentiment using the big Tim Holtz - Alphanumeric Classic Lower ( SBC | CRF | CST | SZZ ) combined with the small Tim Holtz - Alphanumeric Label ( SBC | CRF | CST | SZZ )

Here I used the same colours glitter, with Deep Pink ( SBC | CRF | TNC ) and Olive Green ( CST | TNCUK | TNC ) for the ombre effect and Ice White ( SBC | TNC ) as the last colour.

I added a printed sentiment along with the bigger letters cut out of Greyboard ( TNCUK | TNC ) again with the Alphabet Handmade ( SBC | CST | CRF ) I used Ranger Ink - Basics Embossing Powder - Super Fine - Gold ( SBC | RNG ) for colour and a bit of gloss.
More Inspiration
In a previous video I have more Glitter techniques with lots of tips and super cool tricks to get gorgeous glitter backgrounds. If you haven't seen the 7 Ideas For Easy Stunning Glitter Backgrounds video yet, make sure to check it out too.
I hope you liked this post and are ready to add some sparkle to the world. Thanks for stopping by and make sure to keep on crafting!


Geen opmerkingen